
How We Rebuilt Our 2005 Dodge Sprinter in 6 Weeks
We started with the demolition portion of the build. Demolition took us over a week to do due to our limited amount of supplies on hand in the van. Once we met up Taylor’s grandpa “Pa-Pa” we had his knowledge and tools to our disposal things started to pick up.

Once we were finished with the demolition phase came insulating the van. In our 1st build the van was not insulated that well. So this time we decided to use poly styrofoam to place into all of the spaces we could fit. Then covered up everything with one layer of reflectix. We did that for the ceiling, walls, and floor. Another key thing done during demolition phase was sanding down recycled wood salvaged from the previous build.
Since we already had our own electrical system and 2 Max Air Fans installed in the last build. We started off building the sofa/ bed because it was the hardest part of the build. We have a ”worst first” mentality when it comes to doing projects. It took us a total of 3 days to build the bed. We tried to mimic a few concepts from YouTube. We made the box frame on day one. The second day we made the runner/ extender to make the sofa convert to a bed. The third day was making the storage located behind the top part of the couch and the storage box for the extension of the bed to rest on.

Next up was the overhead cabinets. This took us a total of 3 days, we started off making the L-like frame out of some strong oak wood. Once the frame was even spaced apart from each other we laid down some plywood to make a shelf. With this we were able to have a place to lay our tools down at. The next day we made the door, side walls, and installed the gas struts. Up next was to make a secure overhead cabinet for our solar generator and expanding the battery bank of the generator.

We then moved forward to make the kitchen area which took about 3 days at this point we’re starting to see things come together. We built the stove island first. We used a flame king Rv stove and a 15 lbs propane tank for our source. We made a shelf to place dishes underneath the stove but above the tank. We placed some hinges on the door and a hook and eye to keep it closed when driving.

Next up was the sink. We were able to use the same foot pump, water jugs, and sink. All we needed to do was build the platform to hold the sink, install faucet, install the countertop. We did the same concept we did on the stove with the door and securing it.

Since we’re in such a small space we wanted to use the top of the fridge as our additional counter space. We placed the fridge on a table like platform to make it almost flush with the countertop. Underneath is where we keep all of our dry food storage, vacuum cleaner, and backup generator.

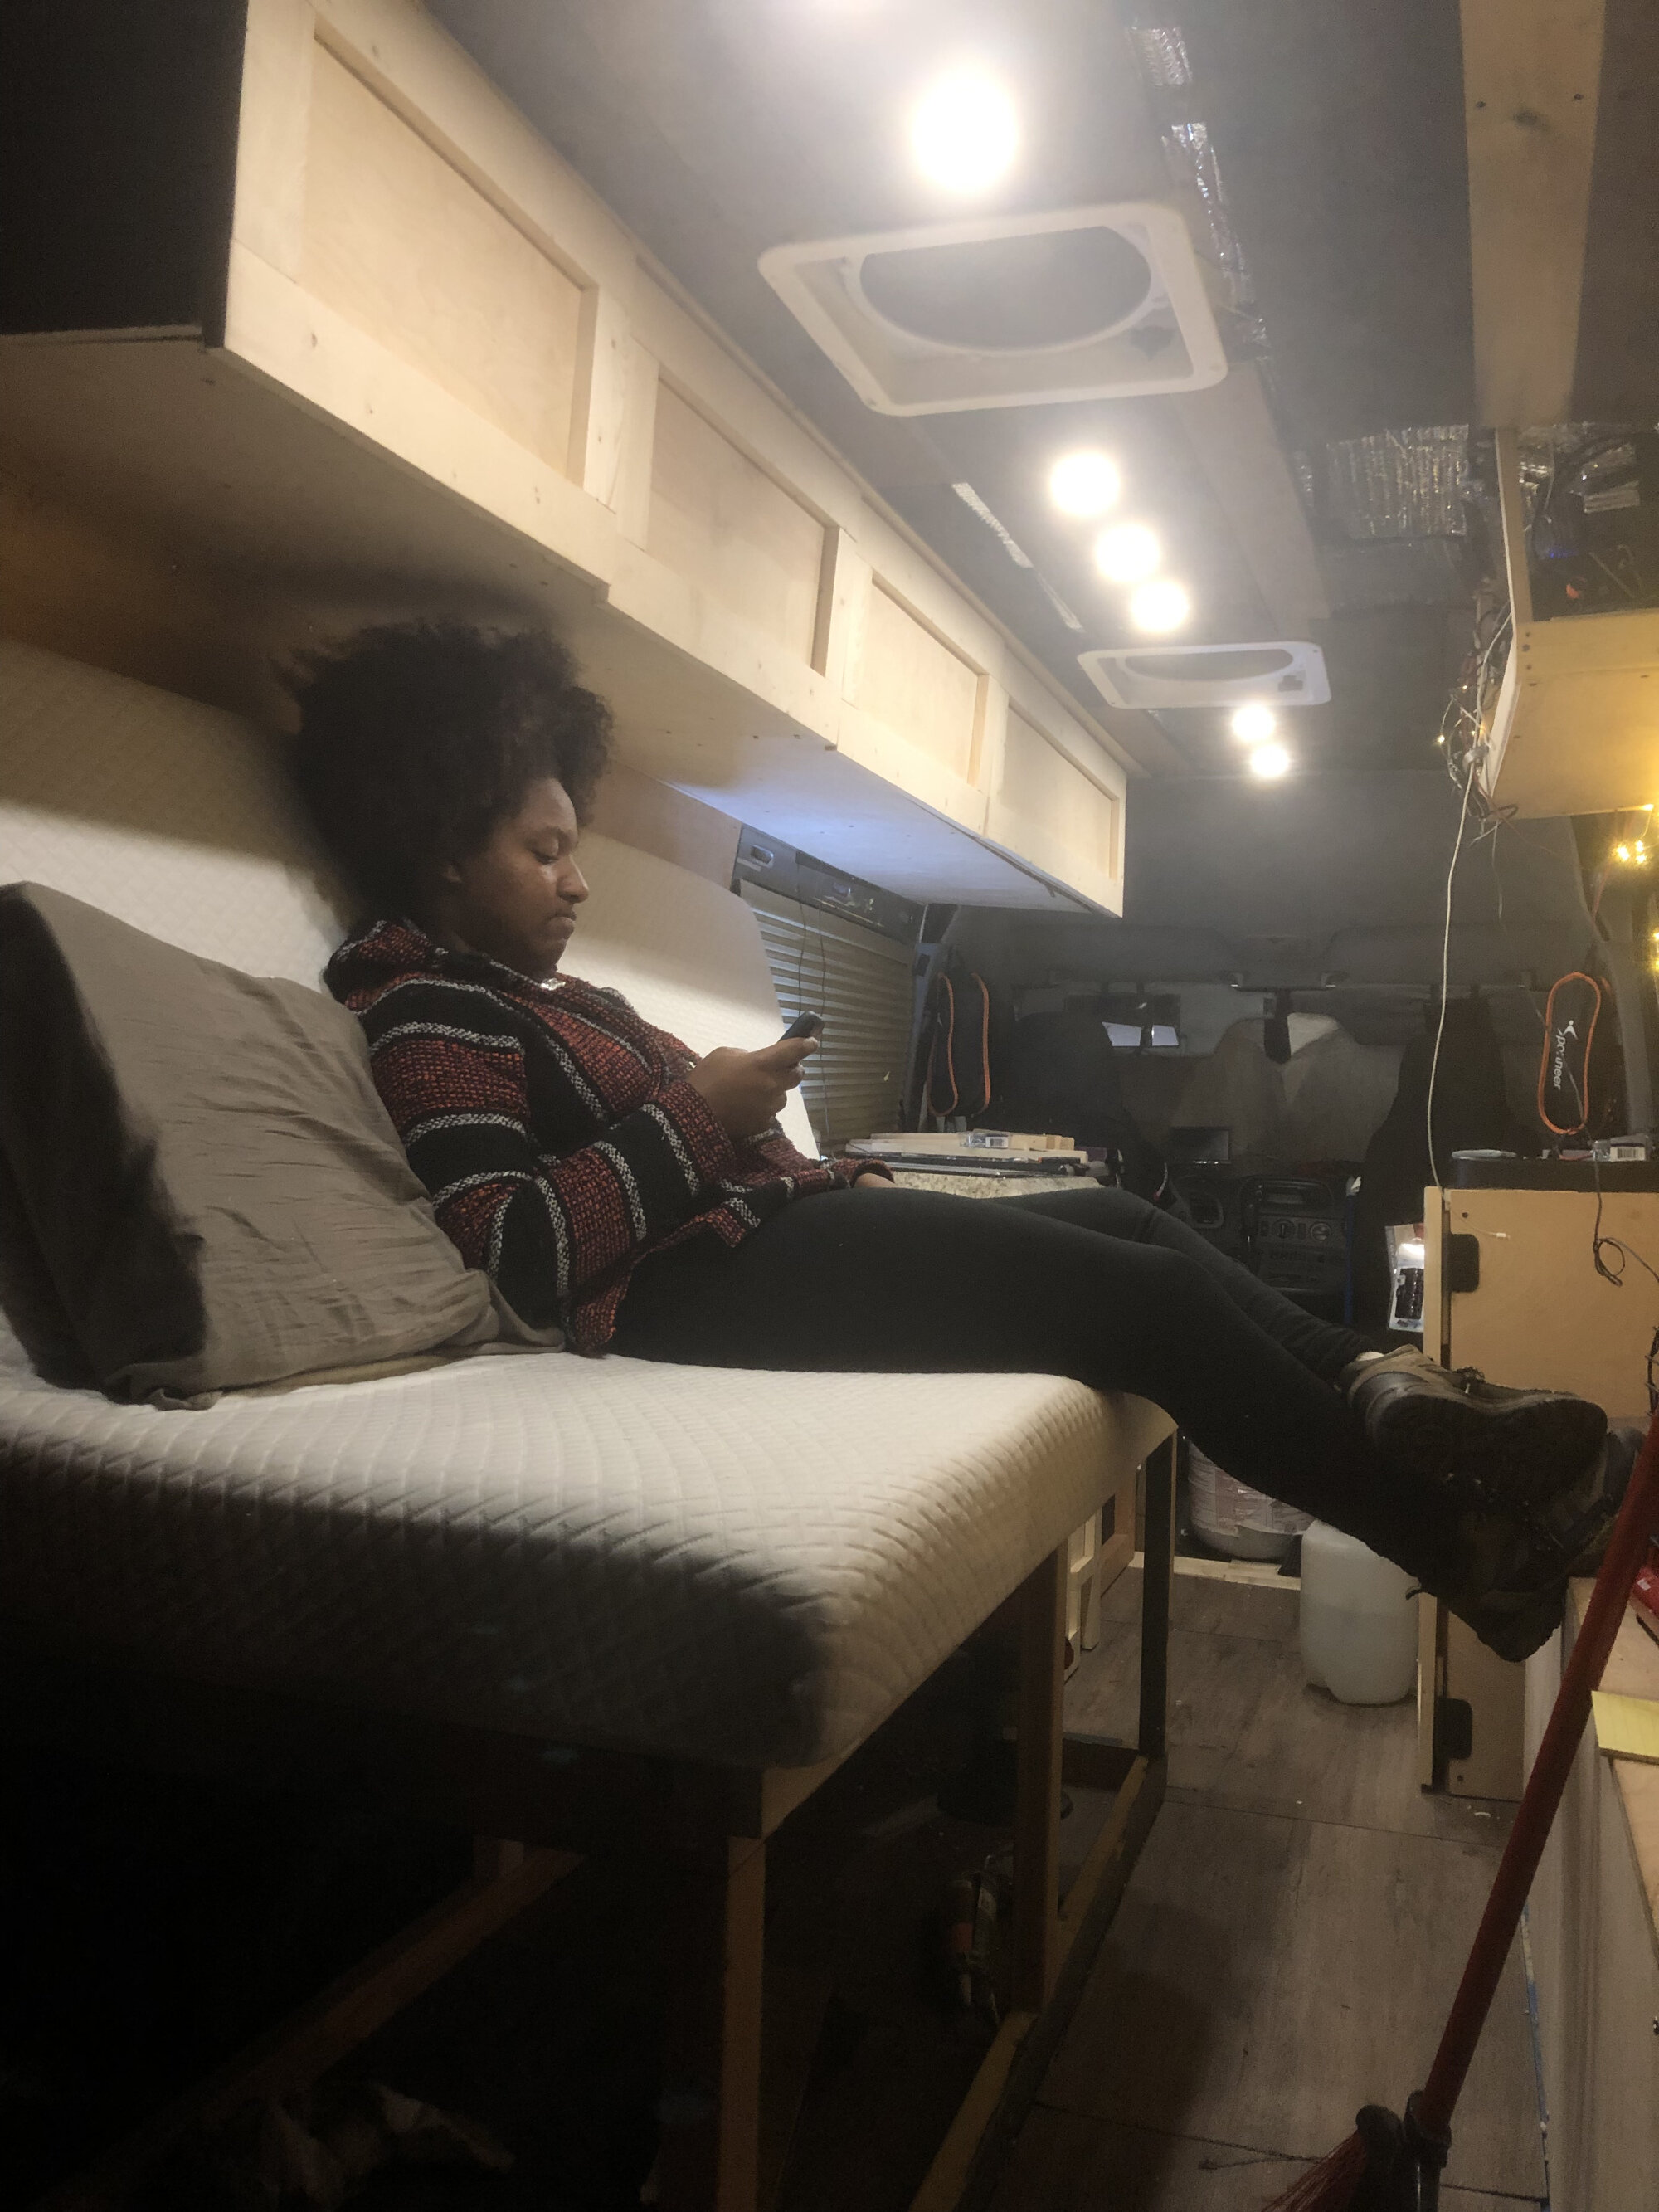
For the ceiling we used weathered wall boards to give the van a rustic look and we installed some recessed lighting on a dimmer. We screwed the boards into the interior metal frame of the van. For the flooring we used vinyl planks that we laid down over the sub-floor. That took a total of 4 days to complete. To save on weight we used wallpaper behind our cabinets and on the sliding door.

After 6 long weeks of measuring, trimming, cutting, building, and painting our project was complete. We’re so excited for what the future holds and look forward to awaits us. Thank you for reading this blog!


